Adjusting and maintaining a Losmandy Titan Mount

Is it important to perform maintenance on your mount? The answer is a resounding yes. Even though the Losmandy Titan mount is built like a Panzer IV tank, it does need to be adjusted and lubricated. Ideally, this should be performed twice a year, as metal expands and mechanical clearances change. Depending on the temperature differences between summer and winter where you live, I would perform this operation in the beginnining of winter and summer. Proper tracking and slewing depend on properly adjusted wormgears. Also, bad clearances can lead to motor stall or damage and affect periodic error (see here: A worm’s story (or star tracking on Titan mount) – www.C14edgeHD.com).
There are some good information on the internet, for example here: TitanTipsByBobAllevo.pdf (gemini-2.net). But there also is some nonsense running around, so I am a firm believer in the old “if it works don’t fix it” adage and would rather not take the entire mount apart. Why? Because I do not take lightly the risk of damaging something on a 10000 USD piece of equipment. To me, adjusting the worm gears is the bare minimum required and that’s what we’ll be showing you here. I do not see any point in dismantling the entire mount, as the breaks, the axles, work quite well.
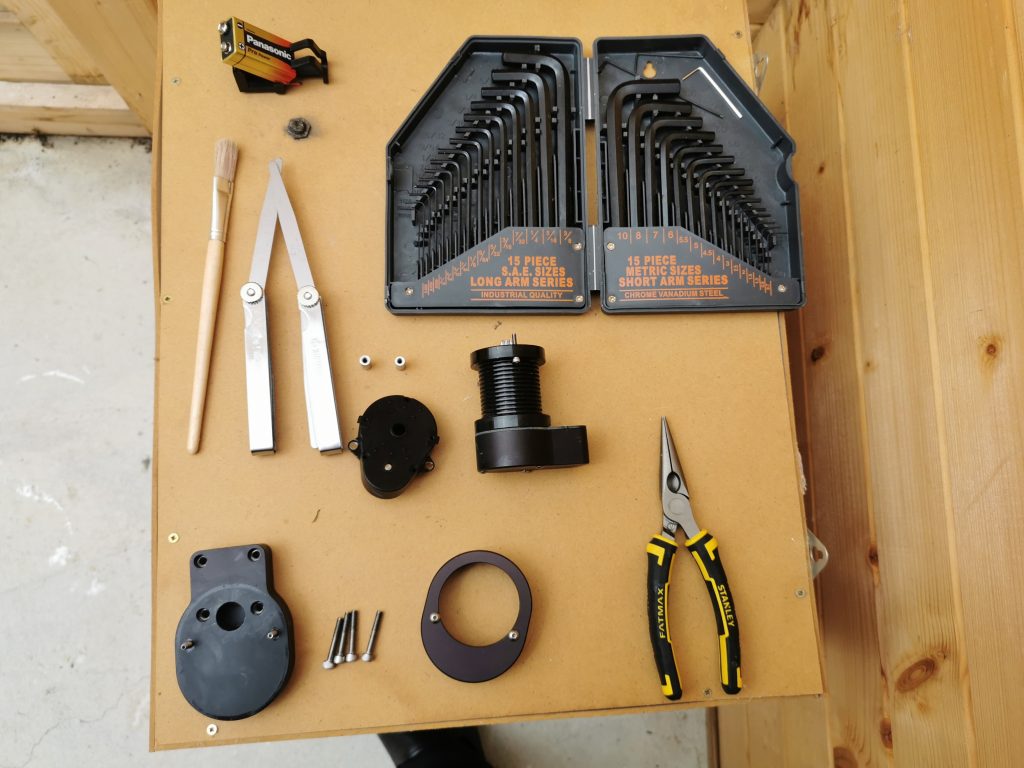
First of, you need the right tools for the right job. What is required here is a set of imperial Allen keys, feeler gauge and good long nose pliers (nope, a sledge hammer is not required). Have a clean and tidy area where you will be laying your tools, parts and screws you dismantle. Remember that a telescope mount is essentially a big precision clock, so work as you would on a watch. I start by unpluging Right Ascension and Declinaison cables and I also check the gap between each end of the wormscrew block and the mount with the feeler gauge. It does not hurt having an idea of the position the block is in before adjusting anything. Then, we proceed with removing the RA motor since we are working on the this axle. The motors on a Titan are simply held in place by a couple of small allen screws. It’s good practice to keep a finger on the screwhead when unscrewing it as it prevents the screw slipping and falling. This might seem obvious to you, but there is nothing more annoying than being on all fours looking for a screw on the floor.
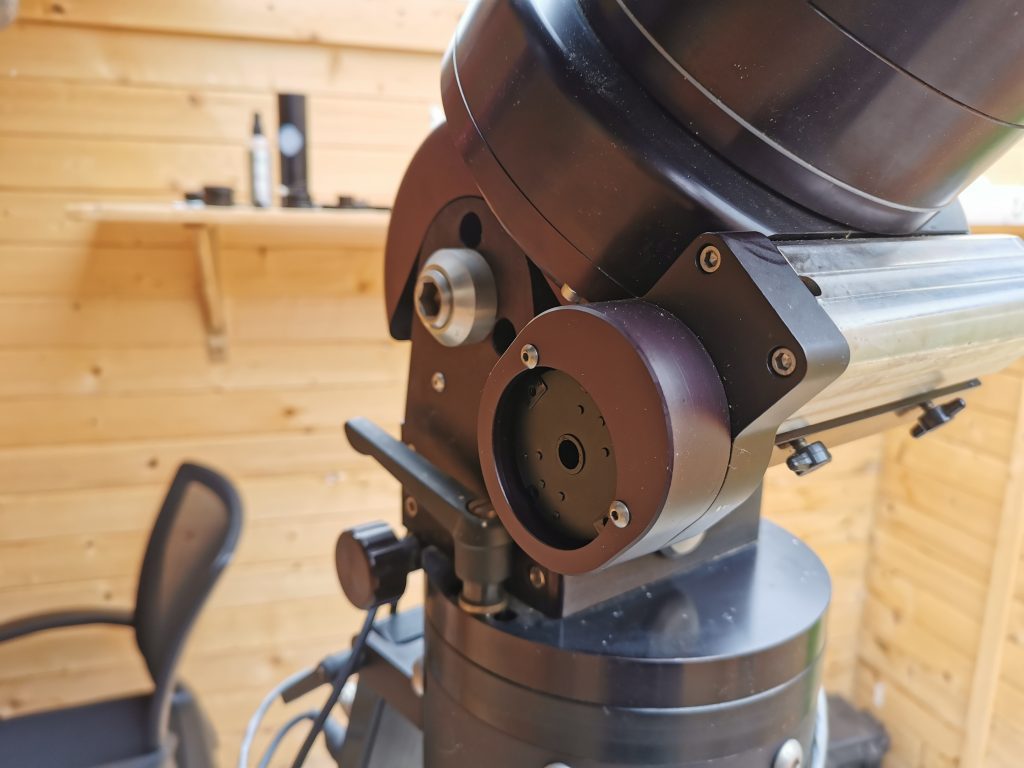
The motor is carefully set aside and the 2 screws holding the aluminium cover over gearbox can now be removed.
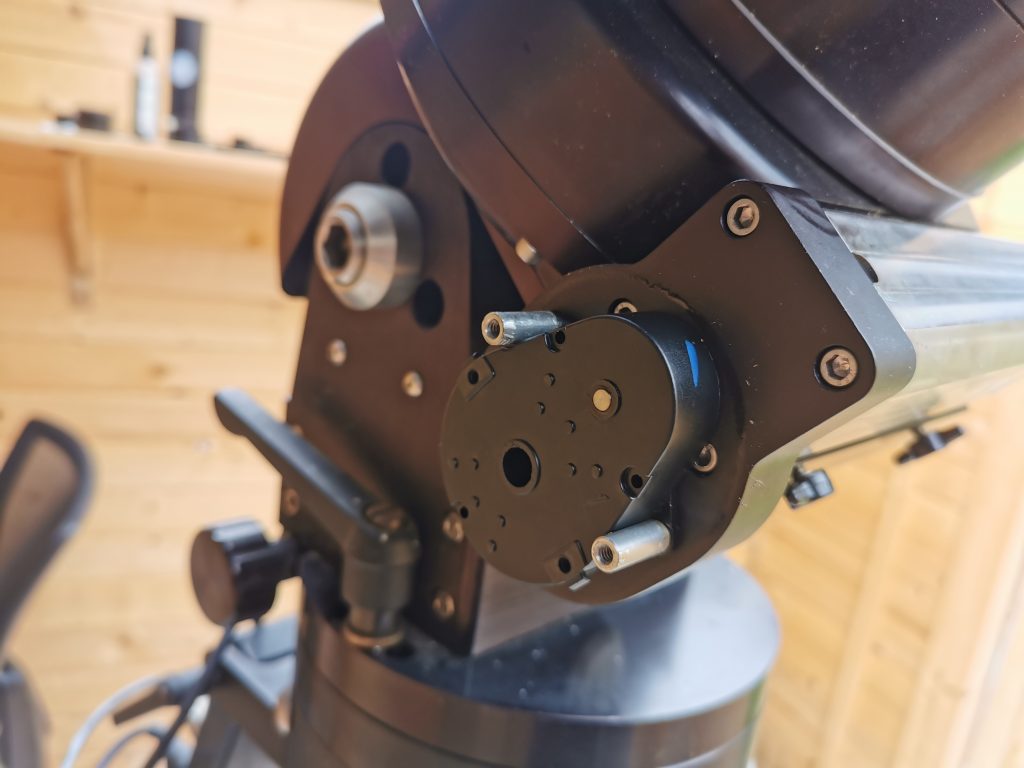
Next we need to unscrew the 2 aluminium retainers holding the gearbox in place. This is done with the longnose pliers, taking care as not to mark it with the pliers (you’d think they would have choosen an hexagonal profile instead of a round one, but that’s Losmandy for you). Then the gearbox can be removed.
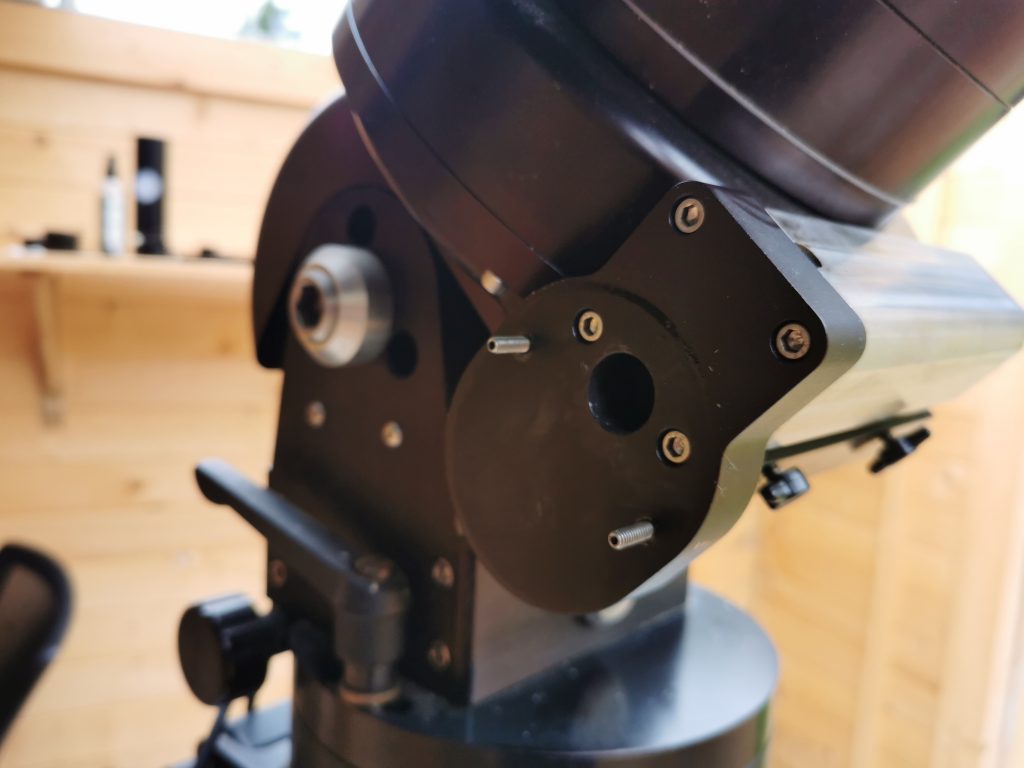
Be gentle with the gearbox as it’s plastic. We now have access to the 4 screws holding the motor assembly to the worm’s block and we remove those. At this sage, make sure the 2 screws protuding are finger tight.
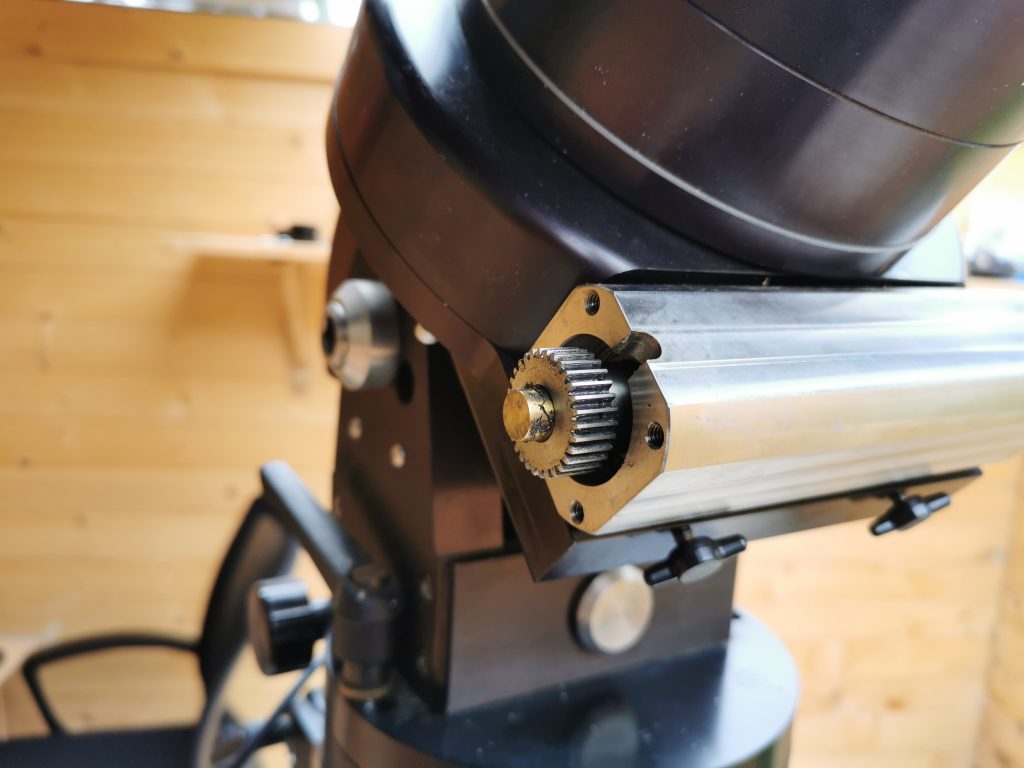
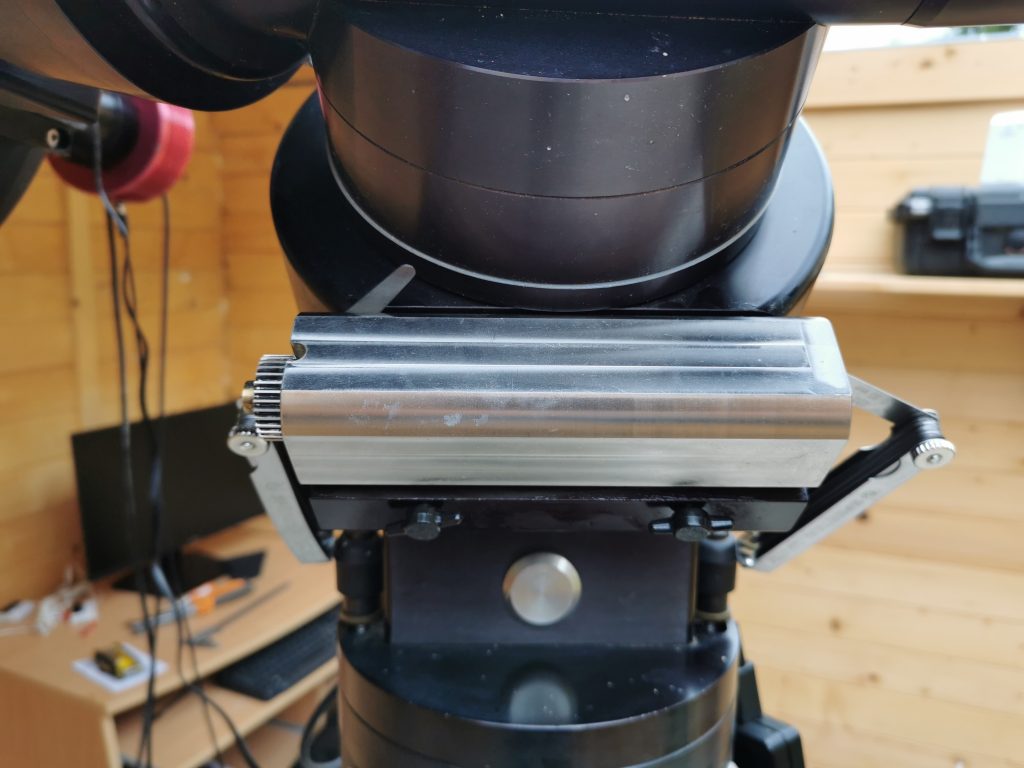
Nearly there. Before doing anything else, rotate the worm shaft by hand for a complete turn, looking for any tight spot due to worm’s eccentricity. Now we’re ready to remove the worm screw assembly by unscrewing the 2 adjusment wing nuts a few turns and unfastening the 2 large allen screws underneath it.
do not drop the worm screw assembly on the floor.

Let’s clean old grease off the worm and check on the rag whether it’s clean (just like you would check an engine oil to check for filings and so on).
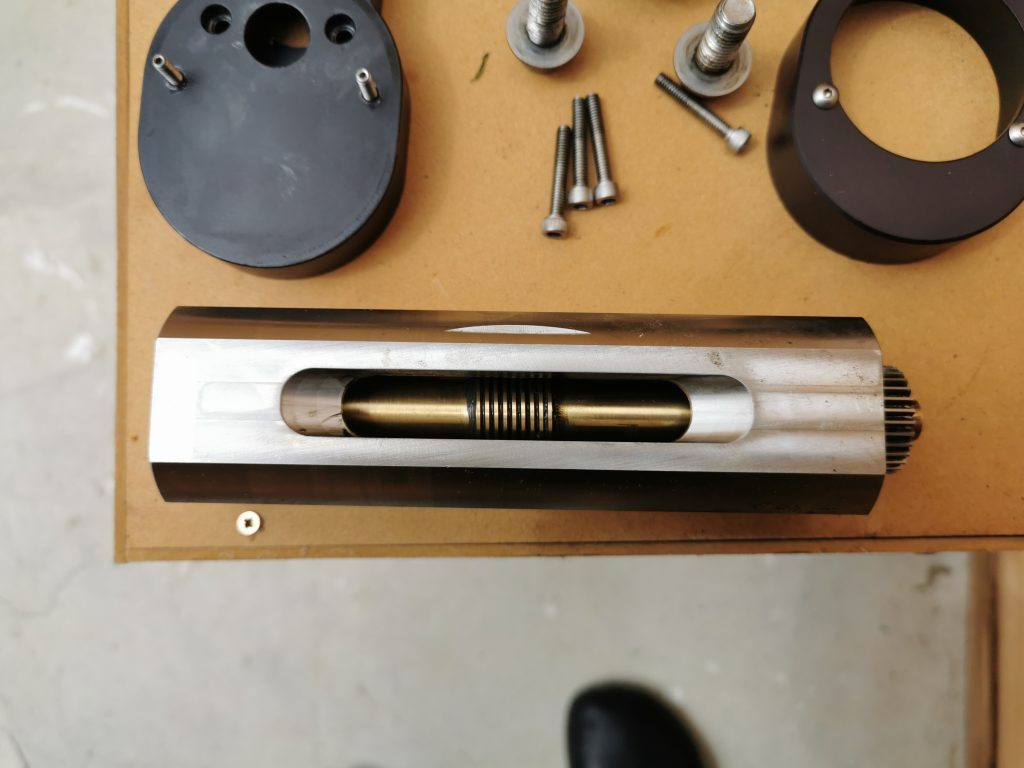
It is also a good time to check if the shaft has any play and that the bearings are well adjusted. If there is no play and if the shaft can rotate freely, then there is no reason to adjust the locking nut at the end of the housing. If required it can be slighly tightened, but make sure the shaft is not under any strain. At this stage, as mentionned earlier, you should have all the bits and bobs neat and tidy.
New grease is applied to the worm screw using a small brush. I use Molybdenium bisulfide grease as it is able to withstand high pressures and temperatures and it will prevent any metal to metal contact preventing wear. It’s now time to put worm screw back on. To do so, screw the 2 large allen screws back on but do not make them tight. Insert the measuring gauges in between the block housing and the mount using the same gauge thickness on both ends, this ensures that the block is square with the crown. It is a trial and error process. Reduce the gauge thickness until the worm screw becomes hard to rotate by hand. Use the wing nuts to adjust the block.The objective here is not to have any backlash, but the screw needs to be able to still rotate without any effort or tight spots in both directions. Keep in mind that tightening the 2 large fastening allen screws will also tighten the housing to the crown, so it is an incremental process. Whatever you do, do not screw the allen screw tight without any play between the worm and the crown or you will bend the worm shaft.
Once the allen screw are tight, grease the gear at the end of the worm screw and proceed in reverse order to remount everything. The same procedure needs to be applied to the DEC axis. Do not forget to make a tracking measurement with Pempro on the RA axis to check that everything is OK.