Collimation with OCAL 4.0
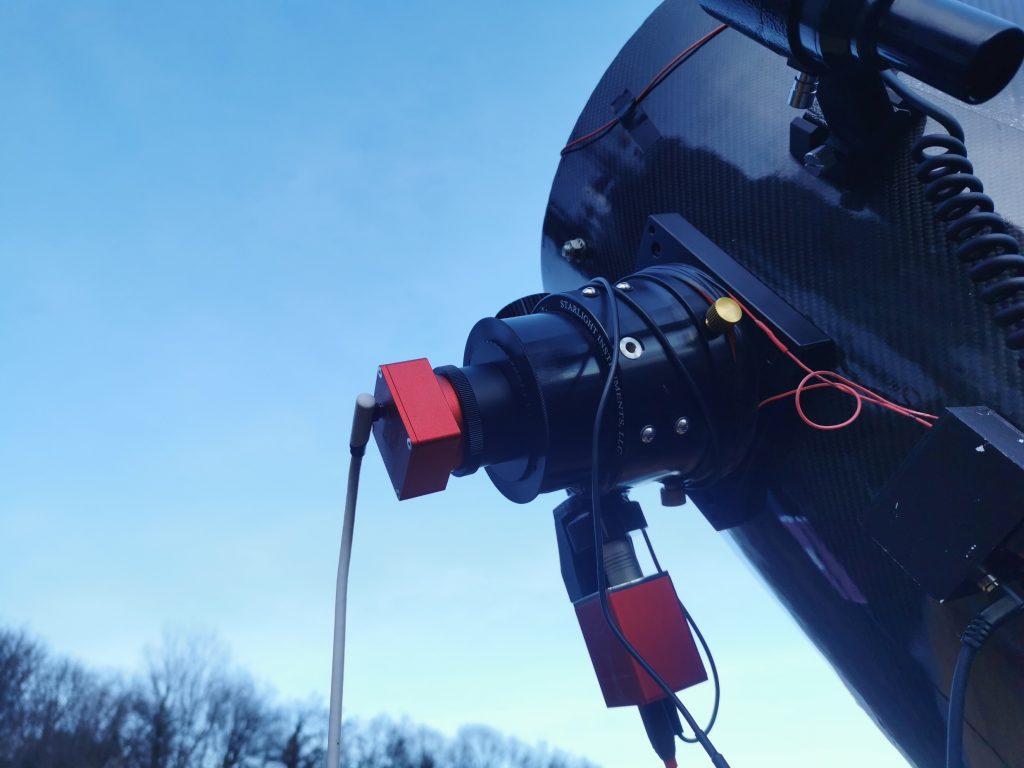
Just to illustrate how important scope collimation is, I seem to find myself writing more about this than about any other subject… But then again, having a properly collimated scope is of prime importance to any astronomer. There are numerous ways to collimate a Newtonian telescope, from a basic “Cheshire” eyepiece to fancy barlowed laser. I have tried them all and I have had mixed results with lasers (barlowed or not) for a very simple reason: the accuracy of lasers depends on the collimation of the laser itself and in the strict parallelism of the laser to the optical path. I found this last part nearly impossible to achieve and what’s more, the laser technique does not allow for secondary mirror adjustment at all. So, at the end of the day the old “Cheshire technique” seems very appealing. This is what got me interrested in OCAL 4.0 because all it really is, is a electronic Cheshire. A rule of thumbs for the OCAL method of collimation basically is “center everything” because where lasers precision rely on parallelism with the optical path, OCAL depends on proper centering in the focuser. As such, I’ll strongly advise to use a screw type mount, as it garanties proper centering. It is also why it is of prime importance entering the center of sensor coordinates in the “focus” text file from the downloadable OCAL spreadsheet. There are a number of video tutorials available on Youtube but, at the end of the day, collimating with an OCAL is deceptively simple. OCAL software really is simple and allows superposition of several colored circles or crosshairs to achieve collimation. First of, the green circle has to be enabled and centered with the focuser.
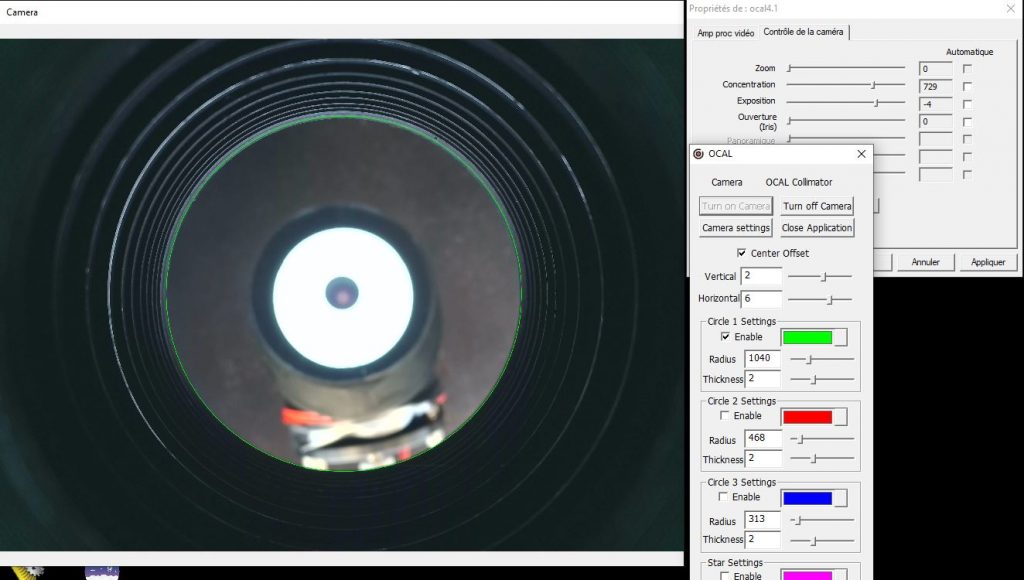
To do so, you need to tick the “center Offset” box and use the horizonal and vertical slidebar to adjust it. If you are struggling to see the focuser edge, putting a sheet of paper behind the secondary can help. Once that’s done, enable the red circle, focus on the secondary and adjust it so that it is centered with the red circle.
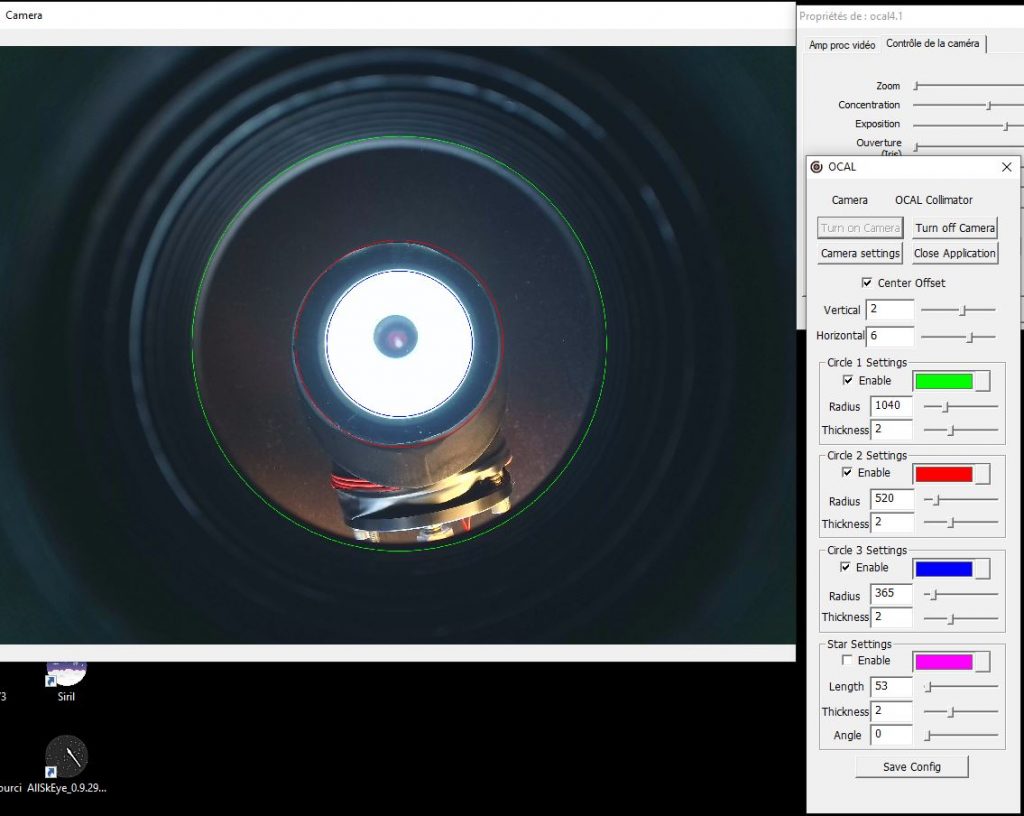
And finally, perform a fine adjustment of the secondary screws so that the image of the primary mirror is centered (blue circle on picture above).This concludes secondary adjustments; time has come for primary mirror adjustement. It is very simple to perform primary mirror adjustment while observing the effect of adjustment on the screen. To adjust the primary, just adjust the screw so that the “eyepiece” of the camera is centered on the center of the primary.
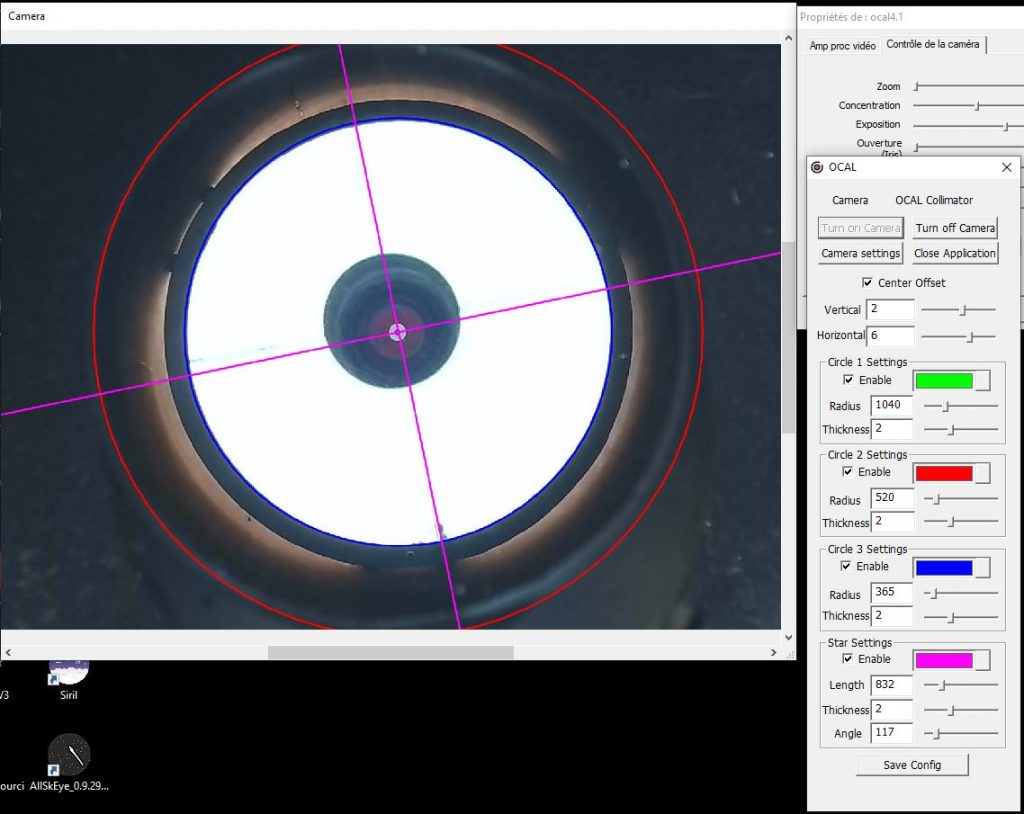
And that’s it!